Sunday, June 24, 2012

Apricot and Pineapple Jam

This is the spring of apricots. Last year was the spring of cherries. I love it that I can rotate through the seasons again and again and keep exploring a new food or new combinations each time.

Apricot and pineapple are a traditional pairing, and for good reason. I've been making plum and pineapple jam for years but always used canned crushed pineapple. It's easy and good. I'm still known for throwing in some canned pineapple when I have an odd-ball amount of fruit that needs to be extended for a good batch of jam. For this jam, I wanted to use fresh pineapple in larger chunks. Apricots can cook right down. I usually cut them into eighths - pretty chunky. The larger chunks of pineapple will add a nice and recognizable texture.

When cutting the pineapple, you may be able to squeeze a good amount of juice from the outer rind that has been cut away.

 Some fruits contain air pockets that make them prone to floating in the finished jam. Pineapple is one of these. To mitigate the floating, I mashed the pineapple. See all those little bubbles? Lots of the air came out, but the pieces did not break apart. The apricots need a gentler hand. After cooking, they won't float.

Pretty!

Yum!

Apricot and Pineapple Jam
1 large, ripe pineapple
Apricots to bring the prepared fruit weight up to 4 lbs
1/4 cup lemon juice
4-5 cups sugar

Prepare 9 half pint jars and lids and the boiling water bath. Place several spoons and saucers in the freezer.

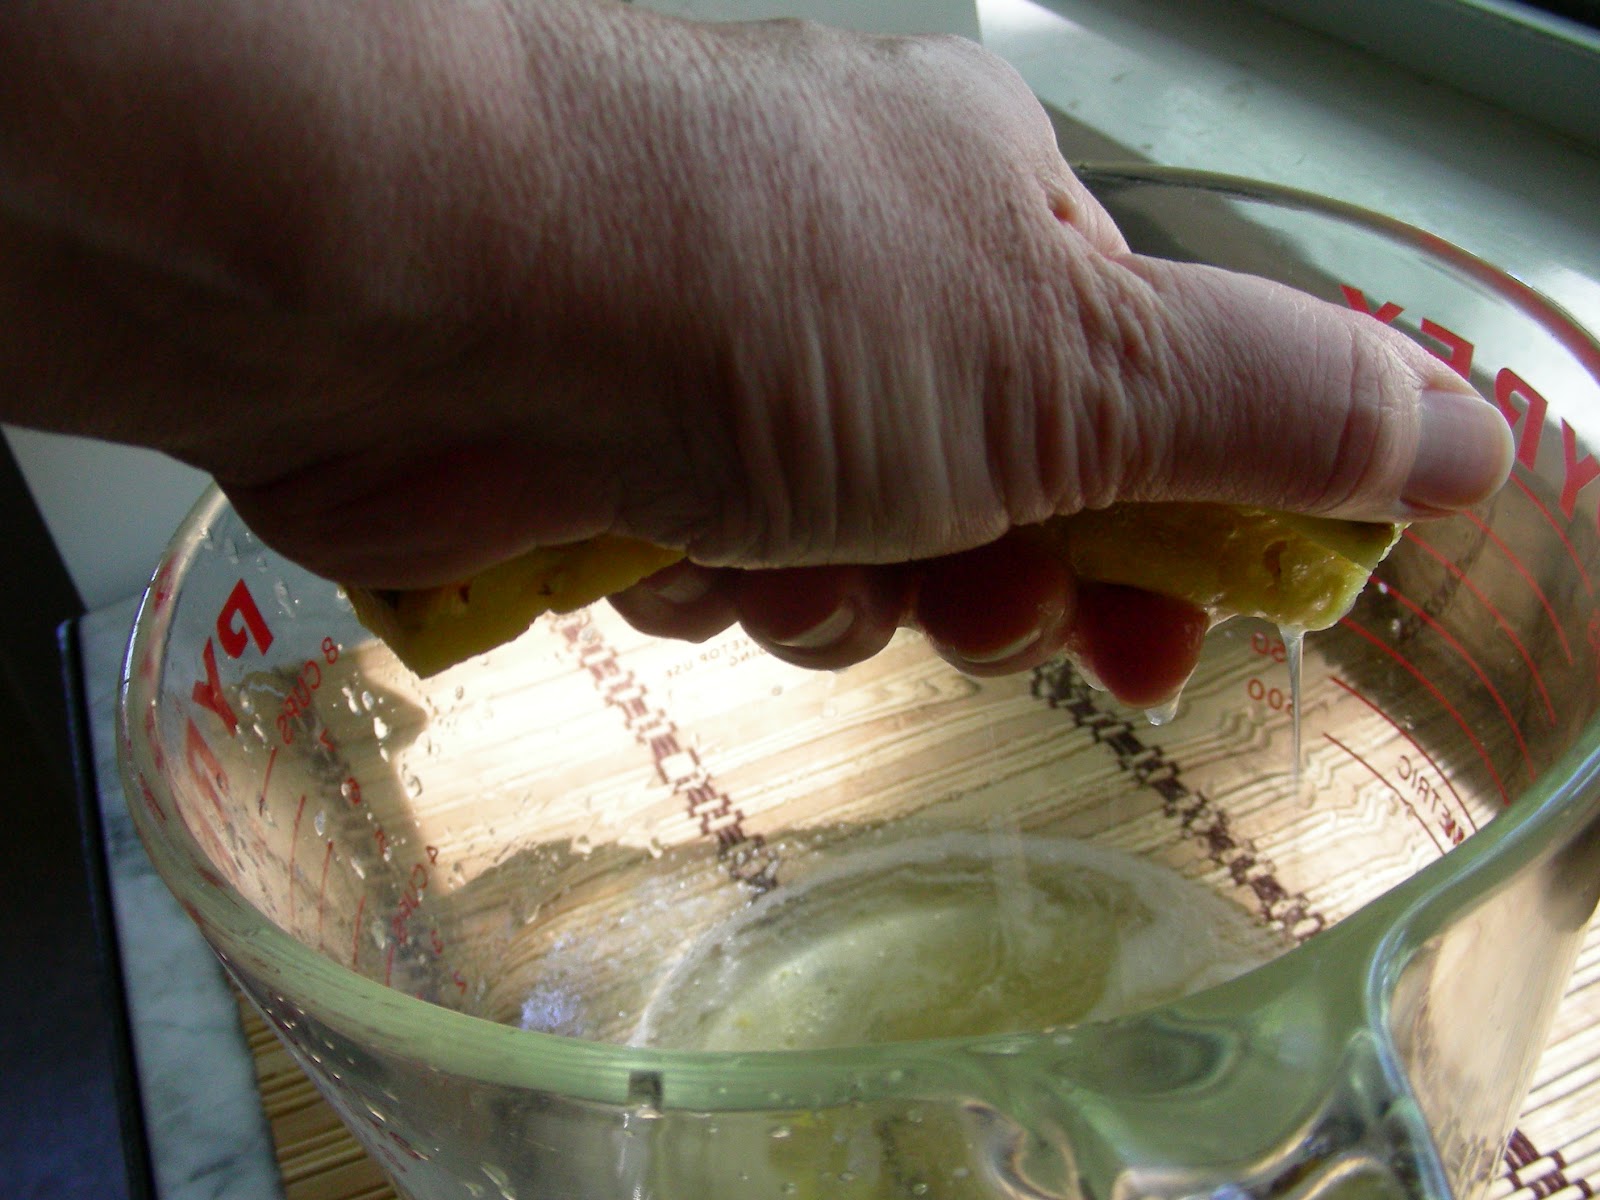
Trim and cut up the pineapple. Be sure to remove all brown spots and the tiny seeds. Squeeze as much juice as you can out of the peels. Chop the fruit roughly and add to the bowl with the juice. Place a bowl on a kitchen scale and reset to zero. Add the pineapple and its juice. Add apricots that have been pitted and cut into eighths until the weight comes up to 4 pounds. Pour all the fruit into a very large stock pot and add the lemon juice and the sugar*. Bring to a boil, reduce heat slightly and boil until it reaches the gel point. This may take 40-45 minutes. You will have to stir more frequently towards the end of the cooking time as the apricots may stick as they begin to break down. To test the jam, scoop a teaspoon out with one of your frozen spoons and place it back in the freezer on one of the saucers. When it is just cool, push it with your finger. If the surface wrinkles and the jam mounds up a bit, it is ready.

Remove the pot from the heat and skim off any foam. Stir lightly to insure that the fruit is well distributed. Carefully ladle into hot, prepared jars. Wipe the rims with a damp cloth and cover with lids and rings. Process in the boiling water bath for 10 minutes. Remove to a towel lined tray and allow to cool overnight before labeling and storing.

Makes 8-9 half pints

Note: You can easily make a delicious pure apricot jam by using the same proportions and 100% apricots with no pineapple. To enhance the flavor, break open the pits with a hammer and put the kernels into a wire mesh tea ball and add to the fruit for the duration of the boiling time.

*Apricots will vary wildly in sweetness. If you can get very good, tree-ripened fruit, less sugar is required. The range I've given you will meet the setting needs of the jam, so the rest is up to you. Start with 4 cups and about halfway through cooking, taste and add sugar if your taste requires it. I ended up with 4 and 1/2 cups on this recipe.

Friday, June 22, 2012

Random Food Fridays - Maui Island Breakfast

 Maui Island Breakfast. 
Prepared with the biodegradable plastic knife from our Hawaiian Airlines lunch box. 
Yogurt, guava jam, liliquoi, mango, apple banana and lychee. Yum!

Ah, vacation. Not only vacation, but, Hawai'ian vacation. My body loves the humidity, the sweet floral fragrance of the air, the warm clear water and the abundance of life everywhere. We stayed at the lovely Ka'anapali Beach Hotel on Maui. It is the second visit there for Mr. Dwayne and I. I've spoken of it so warmly and wistfully for nine years, that when we offered a special trip to Miss Madypants in celebration of her grad school MFA show, she asked to go there.

Ka'anapali Beach Hotel is inspirational and educational. On a stretch of amazing beach, it features the culture and natural beauty of the Island rather than the over-the-top luxury of the nearby resorts. Please consider visiting this beautiful and family friendly hotel. If you ever do, do not miss the Cultural Garden Tour presented by the loving and wise Malihina. I am fascinated by ancient wisdom and traditional food ways and she is a wealth of knowledge.

 We shared with Mr. and Mrs. Wren.
She is an expert papaya seed peeler!

Most food is imported to the Islands via ships and barges. The farm-to-table movement has taken root on Maui. Many of Hawai'i's residents are acutely aware of the narrow margin of food availability with which they live. I have friends and teachers who live on Hawai'i Island on a small farm. They say that there are six days of food on the island at any given time. If this idea doesn't inspire you to get growing some food, I don't know what will! One of the consequences of imported foods is increased cost. You can save a ton of money on food by eating an island breakfast in your room and packing lunches for your time at the beach. In a week's time, we became regulars at the nearby farmers' market in Olowalu. Olowalu also boasts Leoda's Kitchen and Pie Shop. Tropical fruit, pie and shave ice from the Olowalu General Store. What more could one ask of Island dining?

 Aloha, indeed!

A Hui Hou!

Friday, June 8, 2012

Random Food Fridays - Strawberry and Ginger Scone Shortcakes

Strawberries and ginger make another appearance on my little blog!

Most people don’t think of using ginger with spring and summer fruits, but it is spicy, warming and delicious. I love ginger, but if you don’t, you can make these scones without it. Either way, you will have a delicious strawberry dessert!

Strawberry and Ginger Scone Shortcakes
2 lbs. strawberries
¼ cup sugar
Lightly sweetened whipped cream to serve

For the Ginger Scones:
2 cups all purpose flour
1 tbsp. baking powder
¼ tsp. baking soda
½ tsp. cream of tartar
¼ tsp. salt
¼ cup sugar
½ cup butter, cold
2/3 cup buttermilk
1 tsp. freshly grated ginger
Grated zest of one lemon
1 egg
1/3 cup crystallized ginger, diced fine (I used Ginger People® Ginger Chips)

Wash, core and slice the strawberries. Combine with ¼ cup sugar and store in the refrigerator until serving time.

Preheat oven to 400 degrees.

Place the flour, baking powder, baking soda, cream of tartar, salt and sugar in a mixing bowl or in the bowl of your food processor. Mix to combine. Cut the cold butter into chunks and add it to the dry mixture. Cut the butter into the dry mixture until it resembles course crumbs. (This only takes a few pulses in the food processor.) Set aside. (If using a food processor, pour the mixture into a large mixing bowl. The rest will be done by hand.)

In another bowl, combine the buttermilk, grated ginger, lemon zest and the egg. Beat to combine. Add to the flour mixture and stir by hand until just moistened. Add the ginger pieces and stir just to incorporate. Turn the dough out onto a floured board. Shape into a circle that is about 8 inches in diameter. Cut across the circle, creating 8 pie-shaped pieces of equal size.
Line a cookie sheet with parchment paper and carefully transfer the scones to the baking sheet, about two inches apart. If desired, brush the top with buttermilk and sprinkle with a little sugar.

Bake in the preheated 400 degree oven for 15 minutes, or until firm and lightly browned. Remove to a cooling wrack and allow to cool completely before assembling the short cakes.

To assemble, spoon some of the berries and their liquid next each scone and top with whipped cream.

Makes 8 scones

Wednesday, June 6, 2012

Spicy Zucchini Relish - Success!

Pretty, don't you think?

Back in July of 2010, I used my Grandma Betty's zucchini relish recipe and added a couple of jalapenos to try to spice it up. I concluded that it was too sweet and just not spicy. The one flavor update that stuck was a smokey flavor that came from roasting the peppers. When one experiments with canning, sometimes it takes a loooong time to use up the marginal products. Luckily, my daughter decided that my homemade ketchup and the almost spicy zucchini relish made the best 1000 island dressing ever. (Just mix with a little mayo.) So, finally, the old zucchini relish is used up and, as if on cue, new zucchini showed up on my door step.


One day last week, we found two brown grocery bags on our porch - one with three overgrown zucchini and another half full of beautiful cherries. These were gifts from the gardens of two different friends who knew I could make good use of their excess home produce. The zucchinis were used in this revamped spicy zucchini relish. I still roasted the peppers, but used 6 jalapenos rather than 2. I did not use the ribs and seeds and it is nicely spicy - not hot enough to replace Tabasco, but a lot warmer than most relish.

Two and a half of the large zucchini resulted in 10 cups grated. I scraped out the seedy part before grating. 

The remaining half was used for these refrigerator pickles.

Dinner!

I like this spicy relish very much! If you get tired of making zucchini bread with your giant squashes, give this a try!

Spicy Zucchini Relish
10 cups grated zucchini
4 cups finely chopped or grated onion
2 bell peppers (color is your choice, but red sure is pretty!)
6 jalapeno peppers
5 Tbsp. salt

Wash and de-seed the peppers and place on a broiler pan. Broil on high, close to the flame for about 10 minutes, turning once. After they cool, dice fine.

Mix the zucchini, onions, peppers and salt together and let stand 6 hours or overnight. A lot of liquid will be drawn out of the vegetables. When salt soak is completed, drain and rinse thoroughly and allow to drain while preparing jars.

Prepare 6 pint jars and lids. Prepare boiling water bath.

Put the veggie mixture in a large pot and add:
2 1/2 cups apple cider vinegar
3 cups sugar
1 Tbsp. mustard seeds
2 tsp. celery seeds
1 tsp. ground black pepper
1 tsp. red pepper flakes
1 Tbsp. cornstarch

Mix well and heat on medium-high heat until it comes to a boil. Turn to medium-low and simmer until thick - about 35 minutes. Ladle into prepared jars and process in a boiling water bath for 15 minutes. Serve with hot dogs, sausages, or stirred into tuna or chicken salad.

Friday, June 1, 2012

Random Food Fridays - Nearly Niçoise Salad


Summer time is salad time. We aren't quite there yet, but Summer's goodness is already showing up at the farmers' markets. This salad contains some of my favorites - small potatoes, tomatoes, green beans, plus my favorite - Genova Tonno.

According to Wikipedia, Niçoise salad traditionally includes lettuce with an arrangement of tuna, anchovies, tomatoes, olives and hard boiled eggs on top. Apparently potatoes and green beans are later additions. As usual, I used the veggies I had on hand. The one Italian component that I've been true to is the Tonno. This tuna is about as non-local as you can get. But, oh my, is it good! The olive oil that is drained from the tuna is used to make a flavorful vinaigrette. You may remember this technique from my Insalata de Ceci e Tonno, another terrific salad with Genova Tonno. Both salads make fantastic weekday lunches.

Nearly Niçoise Salad
4 small potatoes, cooked and cubed
1 cup green beans, trimmed and steamed al dente
1/4 cup diced red bell pepper
1/2 cup chopped fresh parsley
1 green onion, sliced
1 small carrot, grated
1 cup diced tomato
1 can Genova Tonno, drained, reserve oil for dressing

Dressing:
1 clove garlic, crushed
pinch sugar
1/2 tsp. salt
freshly ground black pepper, to taste
pinch granulated garlic
reserved oil from the Tonno
2 tbsp. lemon juice
zest from the lemon
1/2 tsp. Dijon mustard

Combine all salad ingredients. Whisk together the dressing ingredients and toss with the salad. Best served after the flavors are allowed to combine for an hour or more.